

Understanding Your Blood Draw
For many of us, the idea of a blood draw can evoke a mix of feelings perhaps a slight apprehension, a touch of curiosity, or simply a sense of routine. Yet, this common medical procedure is one of the most powerful diagnostic tools available to healthcare professionals. A blood draw, also known as venipuncture, is the process of collecting a sample of blood from a vein, typically in your arm, for laboratory analysis. It’s a fundamental part of modern medicine, providing invaluable insights into our health.
We rely on blood draws for a vast array of reasons. They can help detect diseases early, monitor the effectiveness of treatments, assess organ function, check for nutritional deficiencies, and even screen for certain genetic conditions. From routine check-ups to urgent medical investigations, the information gleaned from a small vial of blood can be truly life-changing. Understanding the process can significantly reduce any anxiety we might feel and empower us to take a more active role in our healthcare journey. In this article, we’ll demystify the blood draw, walking through what to expect before, during, and after, and addressing common questions to make your next experience as smooth and stress-free as possible.

The Blood Draw Process: What to Expect
Navigating any medical procedure can be less daunting when we know what’s coming. A blood draw is no exception. While the actual collection of blood is usually quick, the entire process involves several steps designed to ensure accuracy, safety, and our comfort.
Before Your Blood Draw: Preparation is Key
Proper preparation can significantly impact the accuracy of your test results and make your experience more comfortable. We often overlook these steps, but they are crucial.
Fasting Requirements: Some blood draws require us to fast (not eat or drink anything except water) for a specific period, usually 8-12 hours, before the test. This is often necessary for tests measuring blood glucose, cholesterol, or triglycerides, as food and drink can temporarily alter these levels. Always confirm with your doctor or the lab if fasting is required for your specific tests. If you are required to fast, stick to water only – even coffee, gum, or mints can interfere with results.
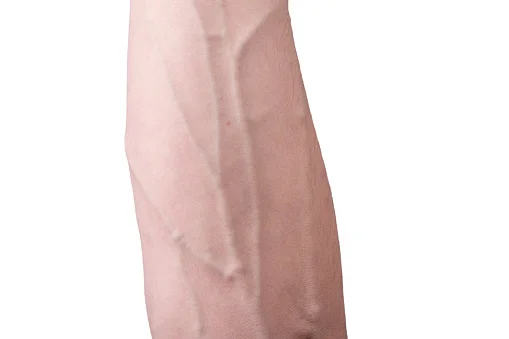
Hydration: Even if fasting is required, drinking plenty of water beforehand is almost always recommended. Being well-hydrated makes your veins more prominent and easier to locate, which can make the blood draw smoother and quicker. Dehydration can cause veins to shrink and become harder to access.
Medication Considerations: Discuss any medications, supplements, or herbal remedies you are taking with your doctor. Some medications can affect blood test results, and your doctor may advise you to temporarily stop or adjust a dose before your blood draw. Never stop taking prescribed medication without consulting your healthcare provider.
Wearing Appropriate Clothing: Opt for short-sleeved shirts or tops with sleeves that can be easily rolled up past your elbow. This allows the phlebotomist easy access to your arm without discomfort or restriction.
Communicating Anxieties: If we have a fear of needles (trypanophobia) or a history of feeling faint during blood draws, it’s important to communicate this to the phlebotomist upon arrival. They are trained to help manage these situations and can take steps to make you more comfortable, such as having you lie down.

During Your Blood Draw: The Procedure Explained
The actual blood draw itself is typically a quick and efficient process, usually performed by a trained professional called a phlebotomist.
Arrival and Check-in: Upon arriving at the lab or clinic, we’ll check in and confirm our appointment. We may be asked to provide identification and insurance information.
Verification of Identity and Tests: The phlebotomist will call us in and verify our identity (usually by asking our name and date of birth) and confirm the specific tests ordered by our doctor. This crucial step ensures the correct tests are performed on the correct patient.
Positioning: We will be asked to sit in a specialized chair, often with an armrest, or lie down if we have a history of fainting. The phlebotomist will ask us to extend an arm.
Vein Selection: The phlebotomist will examine our arms to find a suitable vein, usually in the antecubital fossa (the inside of the elbow). They might ask us to make a fist to help make the veins more prominent.
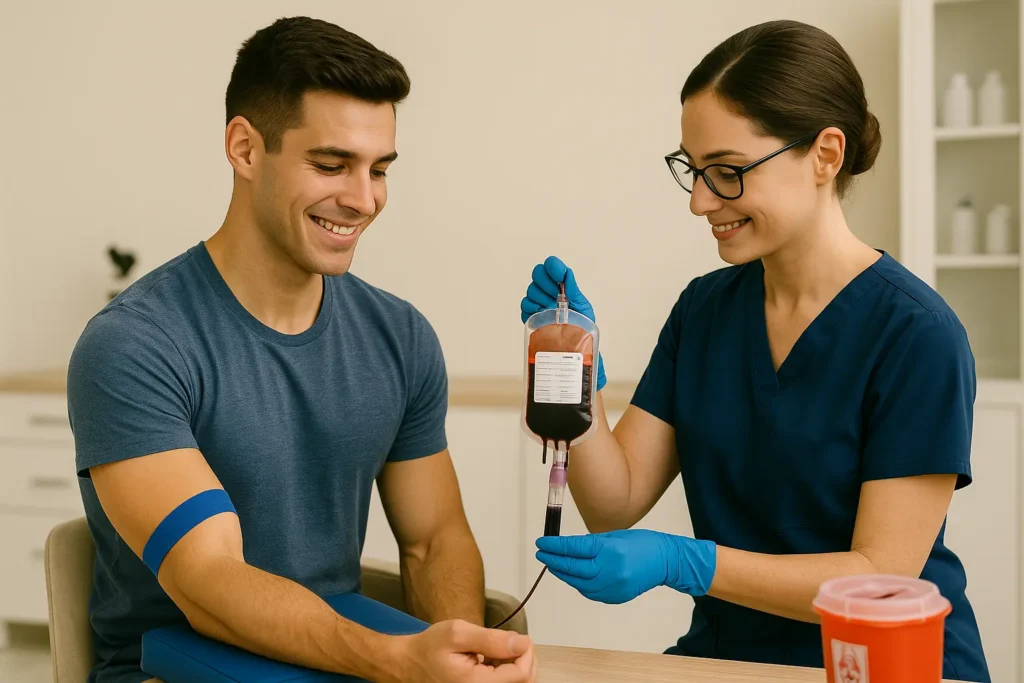
Tourniquet Application: A tourniquet (a rubber strap) will be tied snugly around our upper arm, temporarily restricting blood flow to make the veins more visible and palpable. This is usually left on for no more than one minute.
Cleaning the Site: The chosen site on our arm will be thoroughly cleaned with an antiseptic wipe (like alcohol or chlorhexidine) to prevent infection. It’s important not to touch the cleaned area afterward.
Needle Insertion: The phlebotomist will then carefully insert a sterile, single-use needle into the chosen vein. We might feel a sharp, brief pinch or sting, followed by a sensation of pressure. Many patients describe the sensation as a quick poke, similar to a mosquito bite, It’s usually over before you realize it.
Collection of Blood Samples: Once the needle is in the vein, blood will flow into collection tubes (vials). These tubes have different colored tops, indicating various additives that preserve the blood for specific tests. The phlebotomist will collect the required number of vials.
Needle Removal and Pressure Application: After enough blood has been collected, the tourniquet will be released, and the needle will be gently withdrawn. The phlebotomist will immediately apply pressure to the puncture site with a cotton ball or gauze to help stop the bleeding and prevent bruising. We will then be asked to hold this pressure for a few minutes.
Bandage/Dressing: Once the bleeding has stopped, a small bandage or adhesive strip will be applied to the site.
The entire needle insertion and blood collection process typically takes only a few minutes, often less than one minute for experienced phlebotomists.
After Your Blood Draw: Post-Procedure Care
Once the blood draw is complete, a few simple steps can help ensure a quick recovery and minimize any potential side effects.
Keeping the Bandage On: We should keep the bandage on for at least 15-30 minutes to allow the puncture site to seal completely. If we’re on blood thinners, we might be advised to keep it on longer.
Avoiding Strenuous Activity: For the rest of the day, it’s generally a good idea to avoid heavy lifting or strenuous exercise involving the arm from which blood was drawn. This helps prevent bruising or reopening the puncture site.
Potential Side Effects:
Bruising: A small bruise at the puncture site is common and usually harmless. It occurs when a small amount of blood leaks out of the vein and under the skin. Applying a cold compress can help reduce swelling and discomfort.
Soreness: Mild soreness or tenderness at the site is also normal and should resolve within a day or two.
Lightheadedness/Dizziness: Some individuals may feel lightheaded or dizzy after a blood draw, especially if they are anxious or haven’t eaten. If this happens, inform the staff immediately. They will have you lie down, provide water, and ensure you are stable before you leave.
When to Seek Medical Attention: While complications are rare, we should contact our doctor or the clinic if we experience:
Excessive bleeding from the site that doesn’t stop with pressure.
Significant swelling, redness, or increasing pain at the site.
Signs of infection, such as pus or fever.
Persistent numbness or tingling in the arm or hand.
Getting Results: The time it takes to get results varies widely depending on the type of test. Some basic tests might be available within hours, while more complex analyses could take several days or even weeks. Our doctor will typically review the results with us and explain what they mean for our health.
It’s natural to have questions about a medical procedure, even one as common as a blood draw. Here are answers to some of the most frequently asked questions.
Is a Blood Draw Painful?
Most people describe a blood draw as a momentary pinch or sting when the needle is inserted, followed by a feeling of pressure. The discomfort is usually brief and mild. Many factors can influence the perception of pain, including individual pain tolerance, the skill of the phlebotomist, and our hydration levels. For children or highly anxious adults, topical numbing creams can sometimes be used in advance, but this should be discussed with the healthcare provider.
How Long Does A Blood Draw Take?
The actual collection of blood typically takes less than 5 minutes, often just 1-2 minutes. However, the entire visit, including check-in, waiting time, and post-procedure care, can range from 15 minutes to an hour, depending on the facility’s busyness and the number of tests being performed.
What If I’m Afraid of Needles (Phlebotomy)?
Fear of needles is very common. If we experience needle phobia, here are some strategies that can help:
Communicate: Inform the phlebotomist about your fear. They can employ techniques like distracting conversation, having you lie down, or using smaller needles.
Deep Breathing: Practice slow, deep breaths before and during the procedure. This can help calm your nervous system.
Look Away: Don’t watch the needle. Focus on a point on the wall, close your eyes, or engage in conversation.
Distraction: Bring headphones to listen to music or a podcast.
Stay Hydrated: As mentioned, good hydration can make the process easier.
Why Do I Need To Fast Before Some Blood Draws?
Fasting is required for certain tests because consuming food and drink (other than water) can temporarily alter levels of substances in our blood. For example:
Glucose (Blood Sugar): Eating causes our blood sugar levels to rise, so fasting provides an accurate baseline reading for diabetes screening or monitoring.
Cholesterol and Triglycerides: Fats from food can temporarily elevate triglyceride levels, and affect cholesterol readings. Fasting ensures these lipid levels reflect our usual metabolic state.
Liver Function Tests (sometimes): Certain liver enzymes can be influenced by recent meals.
Fasting ensures that the test results accurately reflect our body’s baseline state, allowing doctors to make precise diagnoses and treatment plans.
What Do The Different Colored Tops On The Vials Mean?
The color of the stopper on a blood collection tube indicates the type of additive inside, which is crucial for preserving the blood sample and preparing it for specific tests.